
SMJ-552 Photo Booth Machine Setup: Quick Start Checklist
- SMJ-552 Photo Booth Machine Setup: Quick Start Checklist
- Introduction: Why a focused setup checklist matters for your photo booth machine
- Unboxing and inventory check — verify contents of the photo booth machine package
- Physical placement and mounting — choose the optimal location for your photo booth machine
- Power and surge protection — safe and reliable operation
- Network configuration — online functions, digital delivery, and remote monitoring
- Software setup and branding — customize templates and user flow
- Camera, exposure, and lighting adjustments — ensure consistent image quality
- Printer, paper and consumables — if on-site prints are enabled
- Accessibility, signage and user instructions — make the machine easy for guests
- Privacy, consent and data handling — comply with regulations and build trust
- Dry run and acceptance testing — validate the entire workflow
- Estimated setup time: quick reference table
- Event day best practices — staffing and monitoring
- Common troubleshooting and quick fixes
- Maintenance and cleaning — keep the SMJ-552 photo booth machine performing
- Brand advantages: why choose the Automatic Self-Service Photo Booth SMJ-552
- Frequently Asked Questions (FAQ)
- How long does it take to set up the SMJ-552 photo booth machine for the first time?
- Can the SMJ-552 operate offline?
- What power requirements does the SMJ-552 have?
- How do you handle guest consent for marketing use?
- What should I carry as spares to every event?
- Contact sales or technical support / View product
- Citations and sources

SMJ-552 Photo Booth Machine Setup: Quick Start Checklist
Introduction: Why a focused setup checklist matters for your photo booth machine
The Automatic Self-Service Photo Booth SMJ-552 is designed to deliver an intuitive, fully digital photo booth machine experience for parties, brand activations, and public events. While the system eliminates the need for a dedicated attendant, a structured setup checklist ensures consistent results, reduces downtime, protects guest data, and maximizes ROI. This guide provides a practical, step-by-step quick start checklist to get your SMJ-552 configured and ready in the most efficient way possible.
Unboxing and inventory check — verify contents of the photo booth machine package
Before you move the SMJ-552 into position, perform a full inventory check. This avoids last-minute delays and ensures you have necessary accessories on hand. Items to confirm:
- SMJ-552 kiosk unit
- Power cable and power adapter
- External flash or LED ring light (if included)
- Receipt printer or bluetooth printer (if configured)
- Instruction card or QR code decals
- Protective foam, screws, and mounting hardware
Tip: Keep the original packaging during transport to avoid damage between events.
Physical placement and mounting — choose the optimal location for your photo booth machine
Select a location that balances visibility, traffic flow, and lighting. Key considerations for the SMJ-552 photo booth machine:
- Stable, level surface to prevent tilting
- Clear space in front (minimum 2.5 m by 2 m for group shots)
- Avoid direct harsh sunlight or backlighting that can degrade image quality
- Access to a grounded power outlet within 3 meters
If you will mount the unit on a stand or rig, follow included hardware instructions and confirm that mounting points are secure. For high-traffic events, consider anchoring the unit to prevent accidental tipping.
Power and surge protection — safe and reliable operation
Power issues are a common cause of downtime. For reliable operation of your photo booth machine:
- Use the supplied power adapter and cable; do not substitute unknown third-party adapters
- Connect via a surge protector with a minimum joule rating of 1000 J
- If running multiple devices (printer, lights), ensure the circuit can handle the combined load
- Have an inline power switch or easily accessible plug to perform graceful shutdowns
Network configuration — online functions, digital delivery, and remote monitoring
The SMJ-552 supports online features such as email or SMS delivery, cloud upload, and remote monitoring. Configure networking as follows:
- Prefer a wired Ethernet connection for stability where possible
- If using Wi-Fi, place the SMJ-552 within strong signal range and use a dedicated SSID to reduce congestion
- Whitelist necessary ports and domains in corporate or venue firewalls; consult product documentation for exact endpoints
- Test email/SMS delivery with multiple provider addresses and phone carriers before the event
Security recommendation: use WPA2/WPA3 encryption and a strong password. If you must use public Wi-Fi, enable a VPN or isolate the booth on a guest VLAN.
Software setup and branding — customize templates and user flow
One of the biggest advantages of the SMJ-552 photo booth machine is its flexible software. Perform these steps during setup:
- Power on the unit and follow on-screen first-run prompts
- Upload event branding assets: logos, overlays, and background templates
- Set session flow: countdown timers, number of photos per session, filters, GIF or boomerang options
- Configure delivery methods: email, SMS, QR code, social sharing options
- Set language, terms of use, and consent screens where required
Tip: Load a quick test template with the event logo and run a 2–3 photo session to confirm branding alignment and cropping.
Camera, exposure, and lighting adjustments — ensure consistent image quality
Even with automatic settings, small adjustments produce better photos. For the SMJ-552 photo booth machine:
- Position the camera at eye level for typical guests; adjust height for target audience
- Use the integrated LED lighting or external flash to eliminate shadows; aim for soft, even light
- Lock exposure and white balance once you have representative test shots to prevent shifts during the event
- If using backdrops, ensure they are evenly lit and free of wrinkles
Printer, paper and consumables — if on-site prints are enabled
If your SMJ-552 is configured to print 2x6 or 4x6 prints on-site, prepare the printing workflow:
- Install thermal or dye-sublimation paper per manufacturer instructions
- Load sufficient media for expected attendance. Rule of thumb: plan for 25-50% of guests wanting a print
- Park test prints to confirm color accuracy and cropping
- Carry spare printers, paper, and cleaning kits for longer events
Accessibility, signage and user instructions — make the machine easy for guests
Even self-service photo booth machines benefit from simple user cues. For smooth guest interactions:
- Place clear signage with short steps: start, pose, get photo
- Include a visible QR code for digital sharing or a printed instruction card
- Enable large-font mode and high-contrast UI options for accessibility
- Provide a small step stool for kids or taller camera mounts for group shots
Privacy, consent and data handling — comply with regulations and build trust
Data protection builds attendee trust and reduces legal risk. Implement the following on the photo booth machine:
- Display a short privacy notice before capture and obtain explicit consent if images will be used for marketing
- If capturing contact data for digital delivery, store it only as long as needed and protect access with passwords
- Use secure transmission (HTTPS/TLS) for cloud uploads
- Provide attendees a clear way to opt out of communications
Dry run and acceptance testing — validate the entire workflow
Run a full dry run before guests arrive. Key tests:
- Complete a full session from tap to final delivery (print or digital)
- Test special features such as green-screen, GIFs, and branded overlays
- Simulate peak usage by running consecutive sessions to check thermal/printer cooldown and network load
- Confirm remote monitoring and diagnostics are accessible to your support team
Estimated setup time: quick reference table
Use this table to plan staffing and setup windows. Times are based on typical first-time setup followed by event-specific tweaks.
| Task | Estimated Time | Notes / Source |
|---|---|---|
| Unboxing and inventory | 10–15 minutes | Manufacturer setup guidance, SMJ internal testing 2025 |
| Physical placement and mounting | 10–30 minutes | Depends on venue constraints |
| Power and network configuration | 15–30 minutes | Wired is faster and more reliable |
| Software branding and templates | 15–45 minutes | Pre-loading templates shortens event setup |
| Testing and dry run | 15–30 minutes | Critical to prevent event interruptions |
Event day best practices — staffing and monitoring
Although the SMJ-552 is automatic, minimal staffing brings benefits:
- Assign a roaming staff member to handle consumables, answer questions, and reboot if needed
- Monitor analytics and digital delivery stats in real time to catch issues early
- Schedule short maintenance breaks to refill paper and clean lenses during low-traffic moments
Common troubleshooting and quick fixes
Here are common problems and proven, quick actions for the photo booth machine:
- No power: confirm surge protector is on, test outlet with another device
- Poor image quality: check lens for smudges, reset exposure, verify lighting position
- Network failures: switch to mobile hotspot or connect via Ethernet, restart network module
- Printer jams: follow printer's jam-clear procedure and run a test print
If the issue persists, capture device logs and contact technical support to expedite diagnosis.
Maintenance and cleaning — keep the SMJ-552 photo booth machine performing
Simple maintenance extends hardware life and improves guest experience:
- Daily: wipe touch screen and clean lens with microfiber cloth
- Weekly: inspect connectors, check firmware versions and install updates
- Monthly: test printer alignment, replace worn consumables
- Long-term: schedule annual inspection with certified service technicians
Brand advantages: why choose the Automatic Self-Service Photo Booth SMJ-552
The SMJ-552 is engineered for event professionals who need speed, reliability, and easy customization:
- True self-service design reduces staffing costs and frees attendants for higher-value tasks
- Flexible delivery options (print, email, SMS, QR) increase shareability and lead capture
- Robust hardware and thermal or dye-sublimation printing options for fast on-site souvenir prints
- Secure networking and consent screens that support regulatory compliance and brand safety
- Scalable software able to handle branded overlays, green-screen compositing, and social integrations
Together, these advantages make the SMJ-552 a dependable choice for corporate and consumer-facing events where uptime and guest satisfaction matter most.
Frequently Asked Questions (FAQ)
How long does it take to set up the SMJ-552 photo booth machine for the first time?
First-time setup will typically take between 60 and 120 minutes, including unboxing, physical placement, network configuration, branding, and a full dry run. Subsequent setups can often be completed in 20–45 minutes if templates and settings are preloaded.
Can the SMJ-552 operate offline?
Yes. The SMJ-552 can capture photos and print them locally without network access. However, digital delivery features such as email, SMS, and cloud uploads require network connectivity.
What power requirements does the SMJ-552 have?
The unit requires a standard AC power connection via the supplied adapter. For stable operation use a surge protector. Check model specifications supplied with your unit for exact voltage and current ratings.
How do you handle guest consent for marketing use?
Enable an on-screen consent prompt prior to capture and store consent metadata along with the image if you plan to use photos for marketing. Display a short privacy note and provide opt-out options for attendees.
What should I carry as spares to every event?
Recommended spares: extra paper or ribbon for printers, replacement power cables, microfiber cloth, small toolkit, and a backup mobile hotspot or Ethernet adapter.
Contact sales or technical support / View product
Ready to deploy the Automatic Self-Service Photo Booth SMJ-552 at your next event? Contact our sales team for pricing, demos, and support options. For technical assistance during setup, reach out to our 24/7 support line or visit the product page to view detailed specs and downloadable resources.
Citations and sources
- SMJ Manufacturer setup testing and internal guidelines, 2025
- Best practices for event technology and guest data handling derived from industry standards and exhibitor manuals
How to start a balloon vending machine business in US
How Much Does a DIY Phone Case Vending Machine Business Cost in the UK
Top 10 automate vending Manufacturers and Supplier Brands
How Profitable Are Candy Vending Machines? Insights & Tips | Chuanbo
About customized services
How to ensure the quality of customized products?
We implement a strict quality management system, and all products undergo multiple testing processes to ensure that they meet high-quality standards.
Does the customized service support international customers?
Yes, we welcome international customers to cooperate with us, and we are able to provide multilingual support and meet the customized needs of different markets.
Can multiple modifications be made during the customization process?
Yes, during the customization process, we will maintain close communication with customers and allow multiple modifications before the plan is confirmed to ensure that the final design meets customer needs.
About products
Can your machine use the language of our country?
Language can be customized. We have exported to more than 30 countries and have a wealth of overseas experience.
What is your company's payment ? Could it be bill banknotes, coins, credit cards, smart payment? Or only or code ?
Payment can be made with banknotes, coins, and credit cards, or payment is available if your local network environment permits.
Fully Automatic Cotton Candy Vending Machine CB328
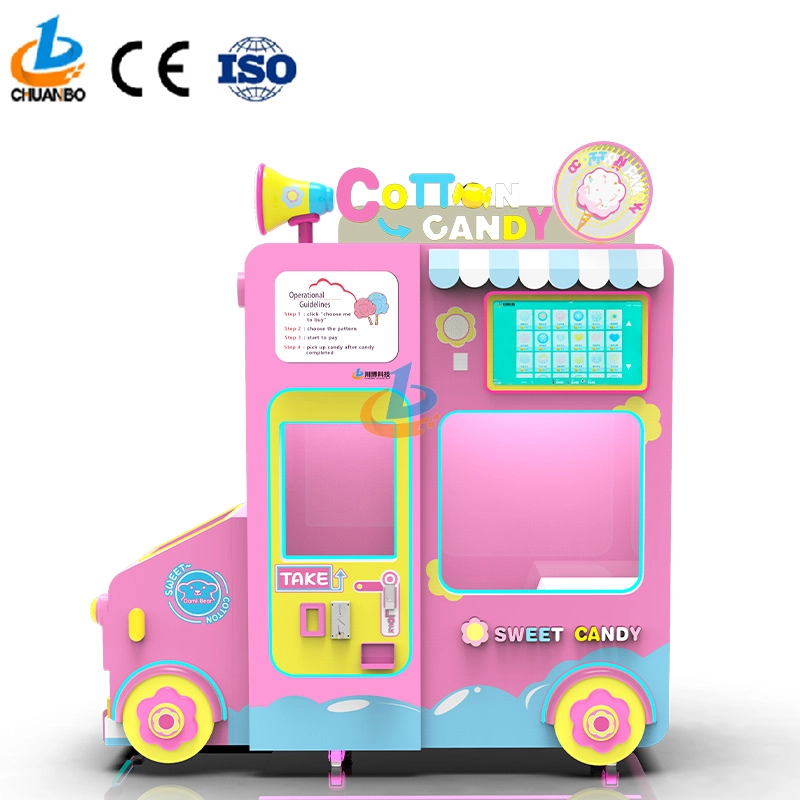
Introducing the Chuanbo Fully Automatic Cotton Candy Vending Machine CB328—a perfect blend of innovation and convenience. Ideal for businesses, this vending machine offers an effortless way to enjoy fresh cotton candy anytime. Explore the automatic cotton candy vending machine for sale and elevate your location's snack options today.
Intelligent Flower Candy Floss Vending Machine CB730
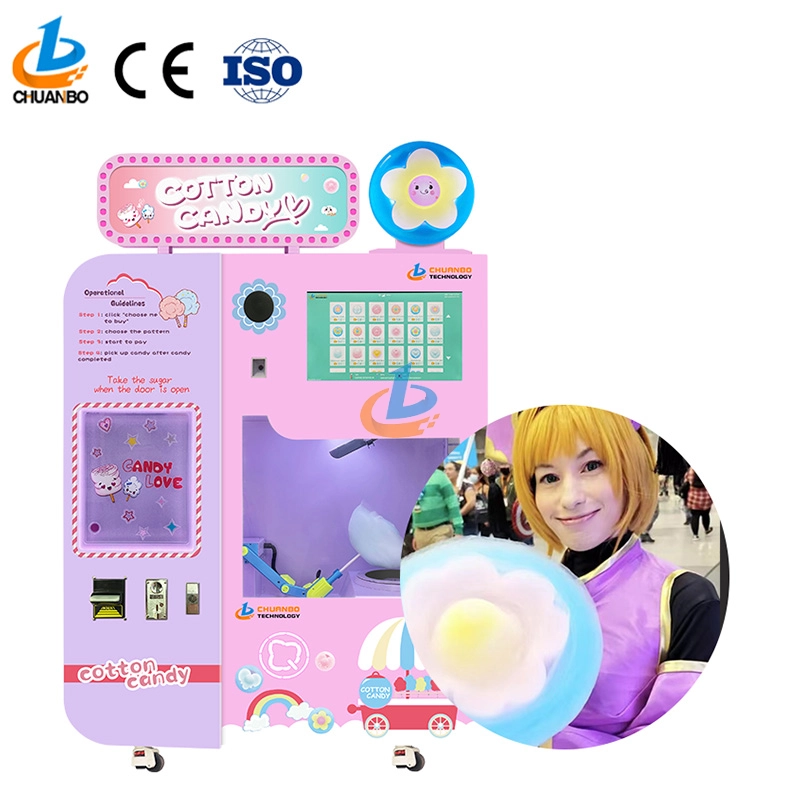
This automated candy floss vending machine combines advanced automation technology with the timeless appeal of cotton candy. Its robotic arms precisely transform sugar into fluffy treats and mold them into delightful shapes, such as flowers, hearts, and more. Customers can select the cotton candy they want by their preferences, ensuring that each dessert is both delicious and visually appealing.
Fully Automatic Cotton Candy Vending Machine CB525
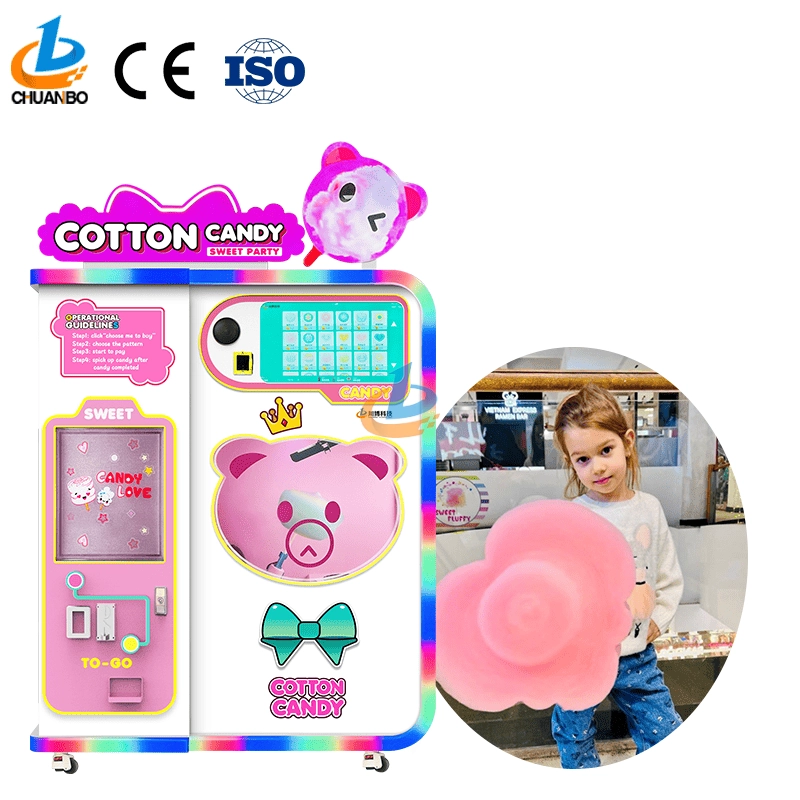
Discover the Chuanbo Fully Automatic Cotton Candy Vending Machine CB525, the ultimate solution for hassle-free confectionery delight. Ideal for entrepreneurs and venues, this high-efficiency machine ensures consistent quality. Explore our fully automatic cotton candy vending machine for sale today and elevate your business offerings.
Wholesale Automatic Cotton Candy Vending Machine CB525H
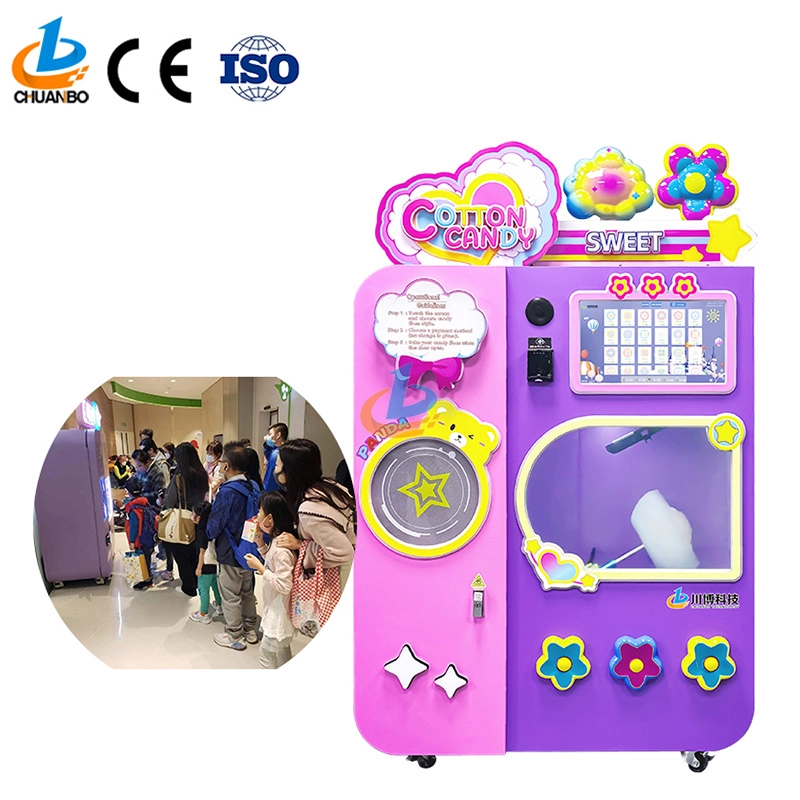
This automatic cotton candy vending machine combines advanced automation technology with the timeless appeal of cotton candy. Its robotic arms precisely transform sugar into fluffy treats and mold them into delightful shapes, such as flowers, hearts, and more. Customers can select the cotton candy they want by their preferences, ensuring that each dessert is both delicious and visually appealing.
Copyright © 2024 CHUANBO All Rights Reserved.
 Scan QR Code
Guangzhou Chuanbo Information Technology Co., Ltd.
chuanbotechnology
Chuanbo Technology
cottoncandymachine9
Chuanbo Technology